


Laserworld CUBE Series - Master-Slave Operation
The Master/Slave mode allows the synchronization of multiple lasers. One laser is defined as the Master, while the others act as Slaves. Pattern, color, speed, and movement control signal are transmitted from the Master to the Slaves (as a trigger signal via DMX).
Operating Principle:
- The intelligent laser mainboard controls the lasers in master/slave operation.
- One laser acts as the Master, the others as Slaves.
- The Master sends DMX control signals to the Slaves, which then execute the same patterns and controls.
- Important: All lasers should have the same content files on their internal memory, otherwise projections may differ.
- Only the Master is “intelligent”; the Slaves only respond to the Master’s signals.
Requirements for proper Master/Slave operation:
- All lasers must use the same playlist.
- All lasers must use the same color settings.
- The Master must be set to Quickplay mode on the display.
- All Slaves must be set to DMX/Slave mode on the display.
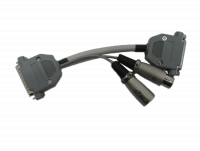
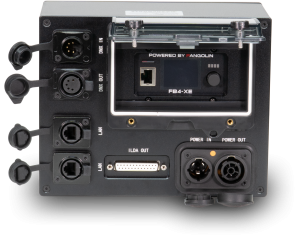
DMX Wiring:
- Connect the DMX output of the Master to the DMX input of the first Slave.
- For multiple Slaves, they can be daisy-chained (DMX-Out → DMX-In of the next unit).
- Each Slave unit must be set to DMX address 1.
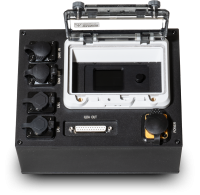
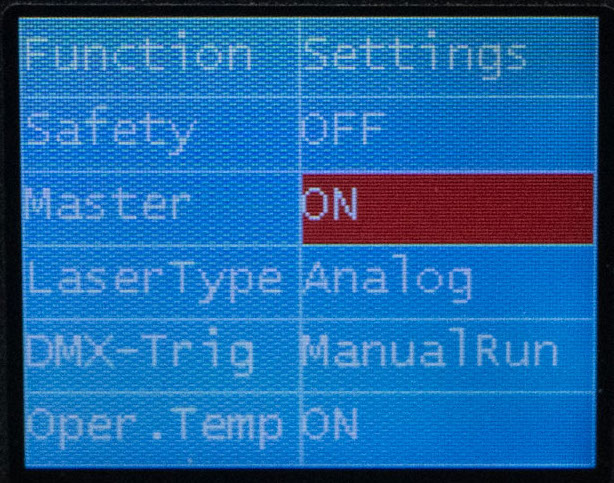
Setting Master/Slave on the Display:
- Turn the rotary knob to "Function" and then select Quickplay, DMX/Slave or Settings.
- Press the rotary knob to confirm the selection.
- On the Master unit, set the operating mode to Quickplay.
- On all Slave units, set the operating mode to DMX/Slave.
- Turn the rotary knob to Function.
- Press the rotary knob to confirm the selection.
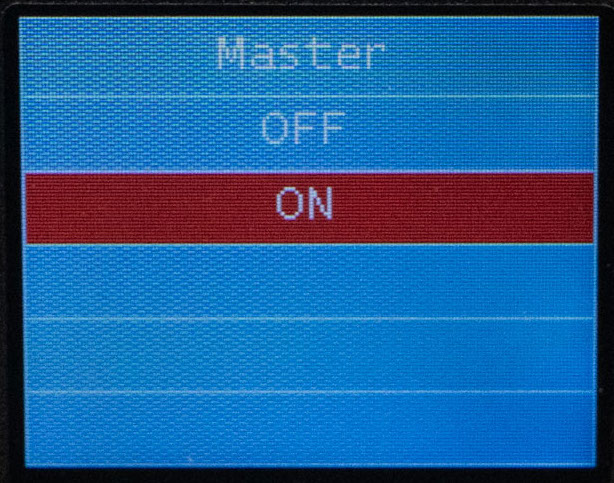
- Navigate to the Master field
- Select On to define this laser as the Master, or Off to deactivate it.
- Slaves automatically detect the Master’s DMX signals and synchronize with the Master.
Notes:
- Changes on the Master immediately affect all Slaves.
- Changes on Slaves are ignored in Master/Slave mode.
- To operate Slaves independently again, disconnect the DMX cable or turn off the Master.